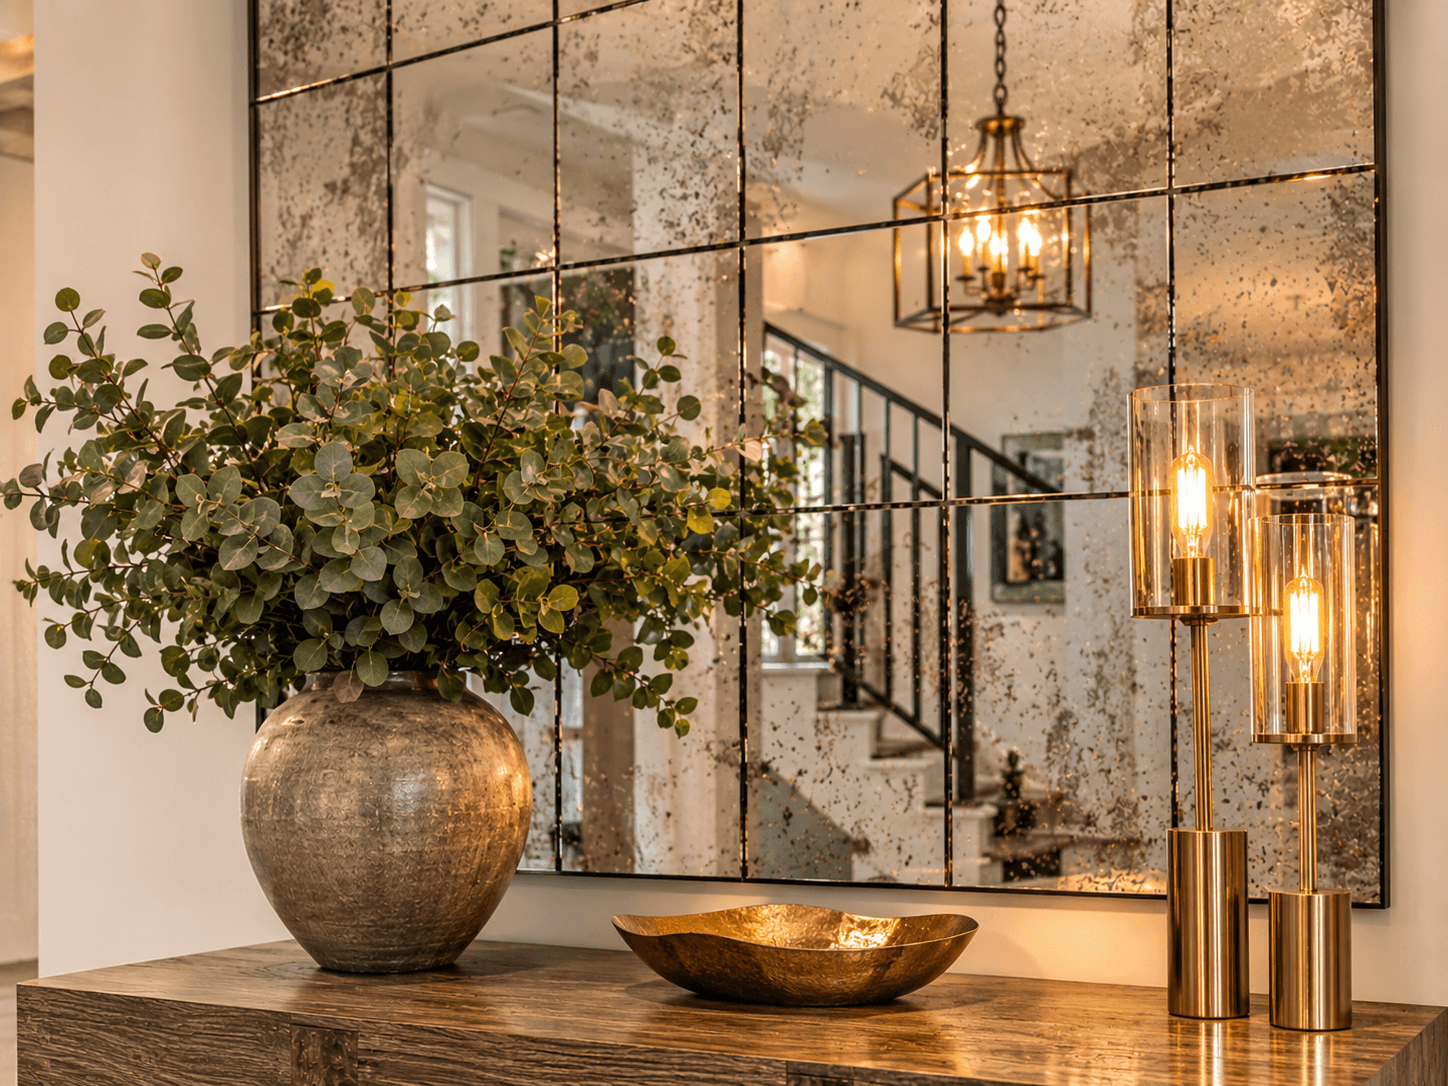
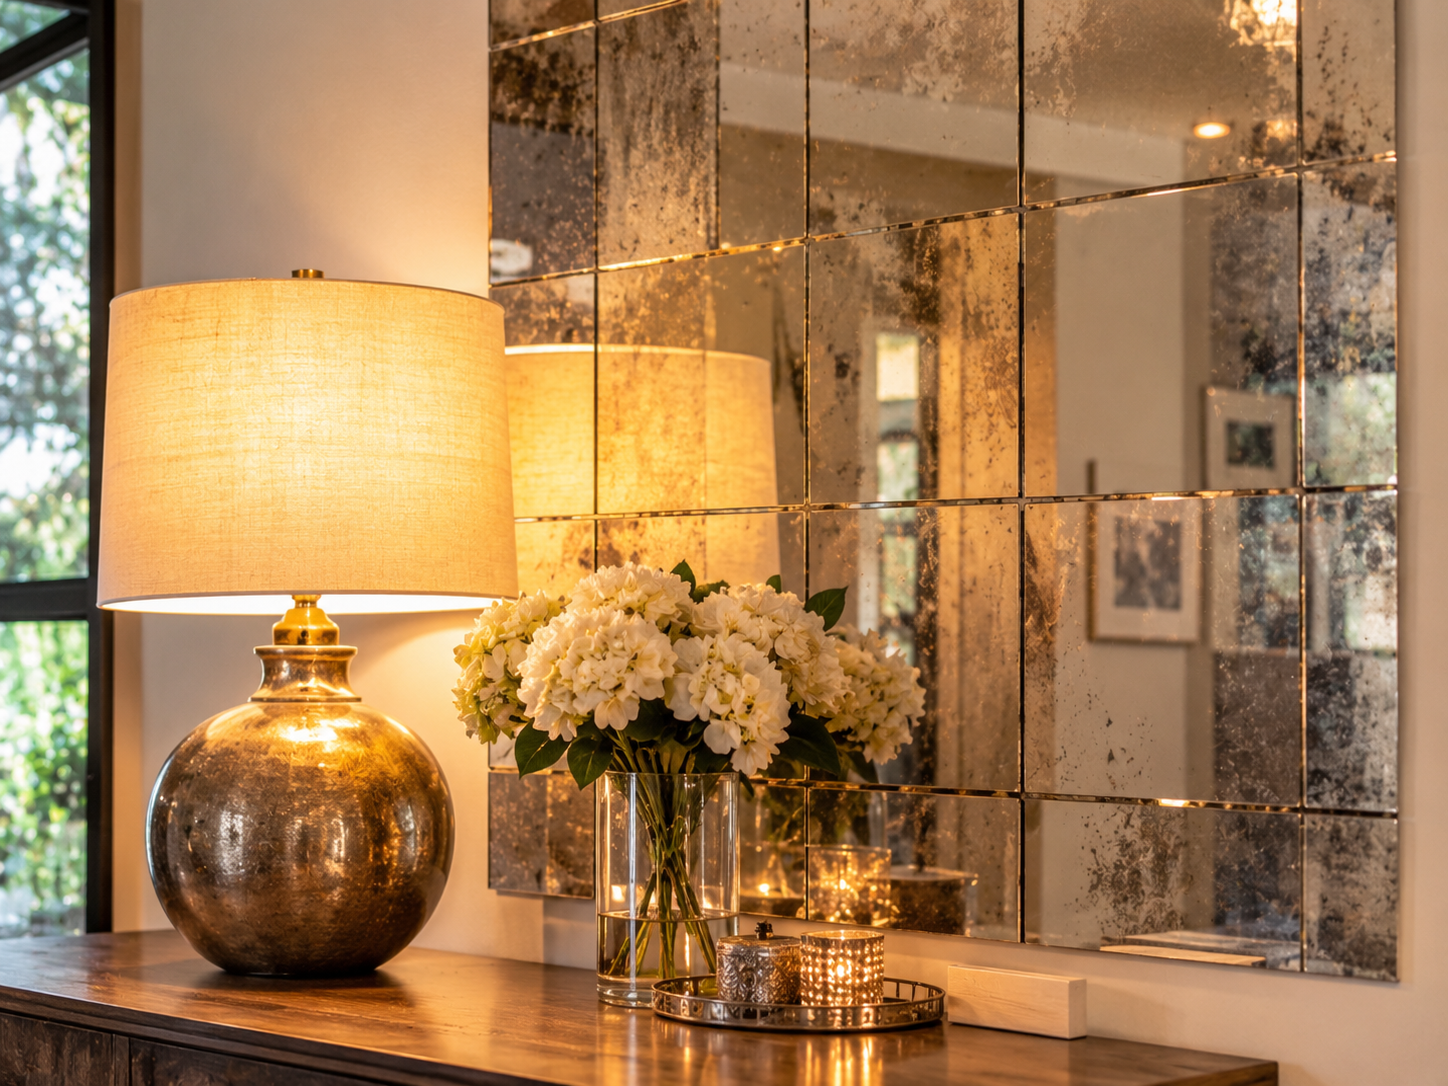
Stand in front of a good antiqued mirror and you won't see yourself so much as a softened, smoky suggestion of the room. Spots drift across the surface like old photographs. Light lingers instead of bouncing straight back. It's the opposite of a bathroom mirror, and that's exactly why people fall for it.
If you're thinking about antiqued mirror tiles for a backsplash, a feature wall, or a powder room, this guide covers what they actually are, where they work, how they fail, how to install them without ruining the silvering, and what they cost.
What Antiqued Mirror Tiles Actually Are
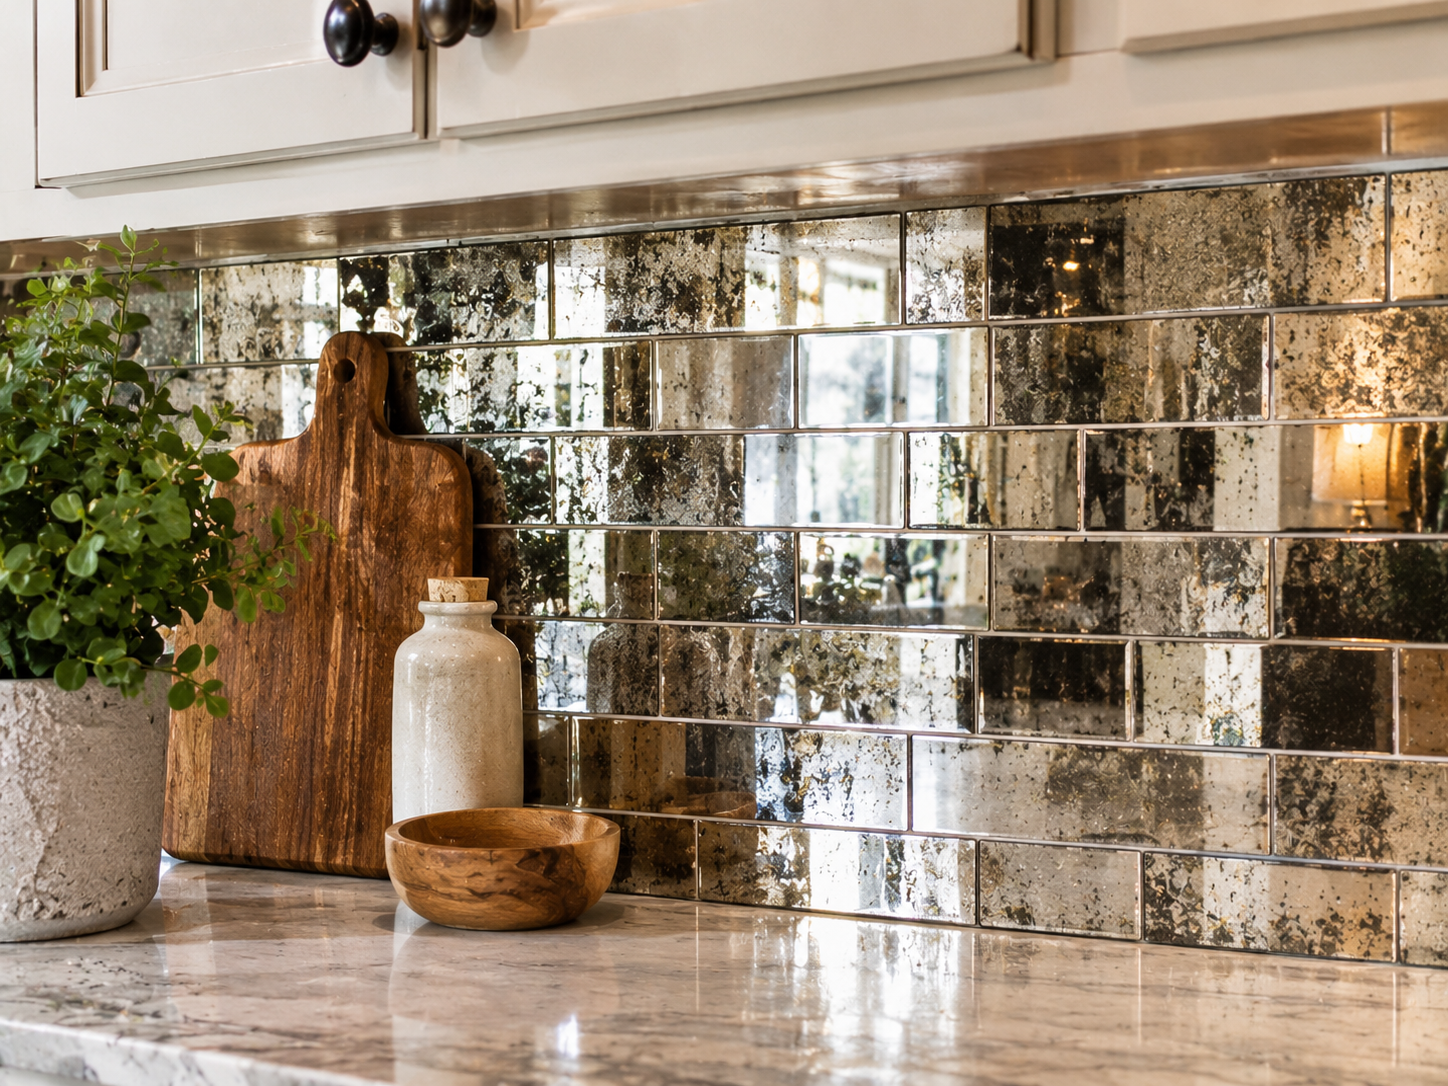
They're glass tiles with a reflective silver backing that has been deliberately aged. Makers get the look by hand-silvering, acid etching or letting the coating tarnish in controlled ways, which is why no two tiles match. Artistic Tile, which makes a hand-silvered line, notes that variation is intentional and that the reflection is "softer and more atmospheric" than a flat modern mirror. Some tiles are thin, around an eighth of an inch.
It helps to separate real glass from lookalikes:
Type | What it is | Best for |
Antiqued mirror glass tile | Real glass with an aged silvered back | Backsplashes, accent walls, powder rooms |
Mirror mosaic on mesh | Small glass pieces on a sheet | Curves, small accents |
Peel-and-stick faux mirror | Plastic or acrylic with a mirror finish | Renters, quick updates |
Salvaged antique mirror | Old glass with natural foxing | One-of-a-kind features |
The rest of this guide is about real glass antiqued mirror tiles, because they carry the biggest payoff and the biggest installation risks.
Where They Shine and Where They Struggle
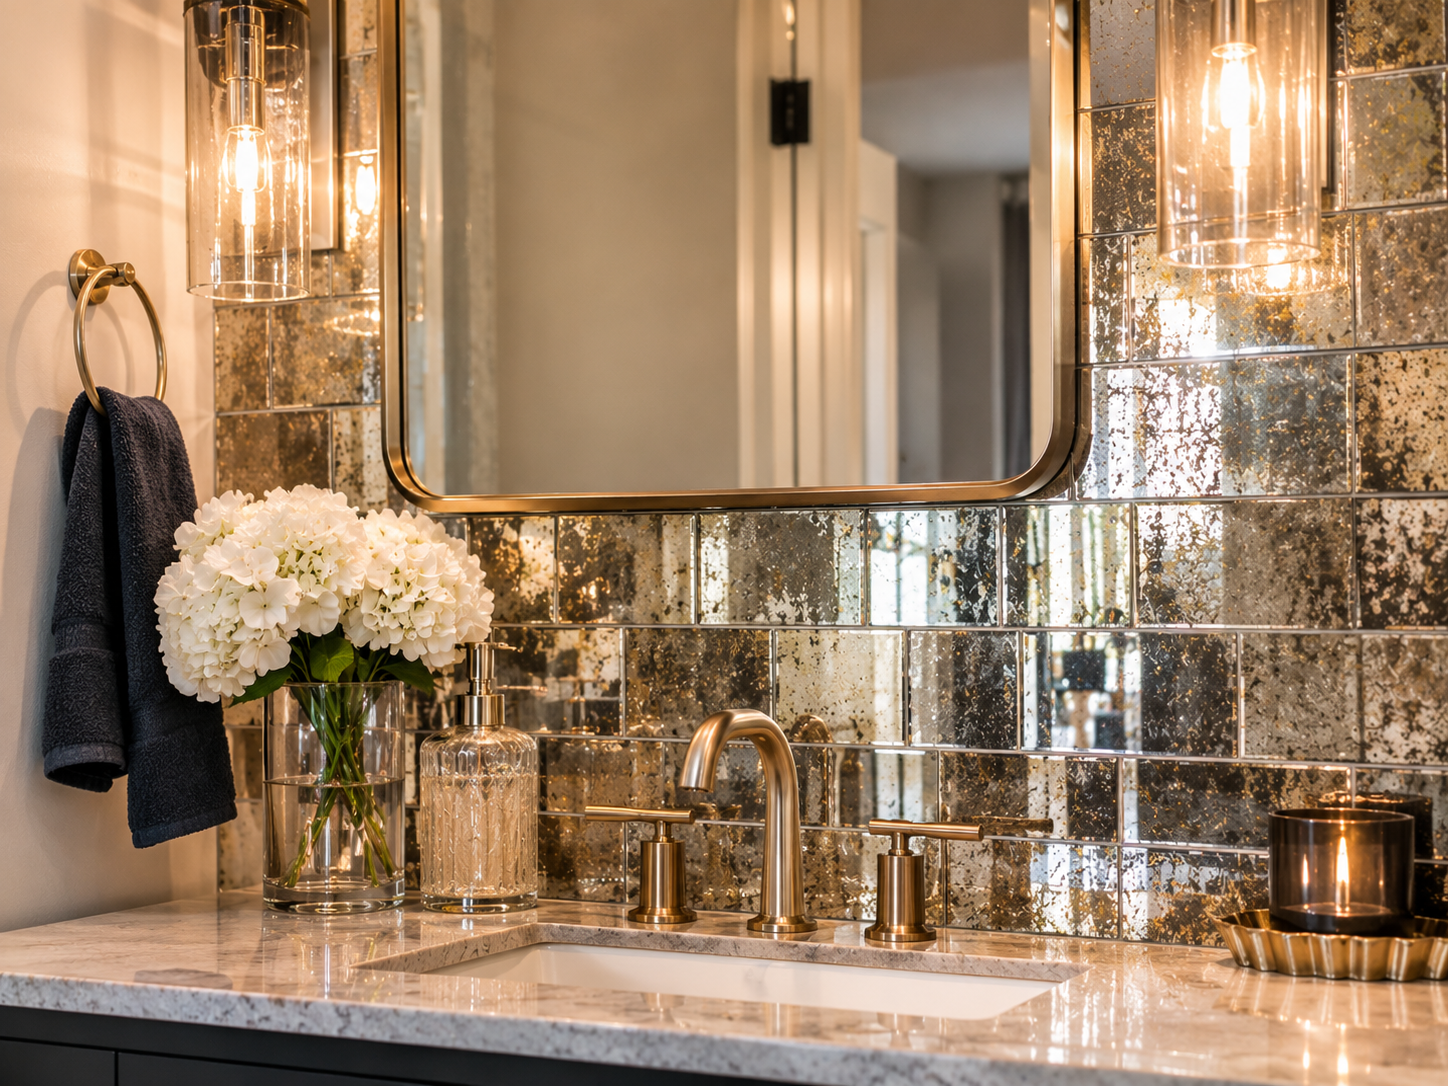
Great spots for antiqued mirror tiles: kitchen backsplashes away from direct splashes, powder rooms, behind a bar or shelving, foyers, dining room feature walls and narrow hallways, where the glow makes the space feel deeper.
Be careful: bathrooms and wet areas. Manufacturers are cautious here. Artistic Tile says its mirror tile is generally meant for interior walls, not full-time shower exposure, and suggests confirming moisture-prone placements with an installer. One retailer plainly warns that mirror glass mosaics are not resistant to water and alkali and should stay out of showers and pools.
Think twice: hot zones such as directly behind a range, or inside a fireplace surround, unless the maker's literature says it's suitable.
If you like the idea on a ceiling or inside panels, our guide to paneled ceiling ideas discusses mirrored panels as an accent to use sparingly.
Three Ways Antiqued Mirror Fails, and How to Prevent Each
1. Edge blackening. Mirror silvering reacts to moisture. When water reaches a raw edge, it can creep between the glass and the coating, and dark streaks follow. Prevention: keep tiles out of wet zones, caulk perimeters and corners with a flexible sealant, and fix leaks quickly. Our checklist on hidden water damage after a plumbing leak helps you spot trouble behind a wall.
2. The wrong adhesive. Solvents and construction adhesives can attack the silver. Artistic Tile's installation guide says its mirror tile should be set with a mirror mastic such as CRL Gunther Extra/Build, and not with solvent glues, generic adhesives, construction adhesives or silicone. Other makers say the same. Always follow the instructions for your specific tile.
3. Chipped cuts and cracked tiles. Mirror chips at the edge when it's cut badly. Plan the layout so cuts fall where trim, caulk or a corner hides them, and use a wet saw with a diamond blade or a score-and-snap tool, wearing gloves and eye protection.
Installing Antiqued Mirror Tiles: The Order That Protects the Silvering
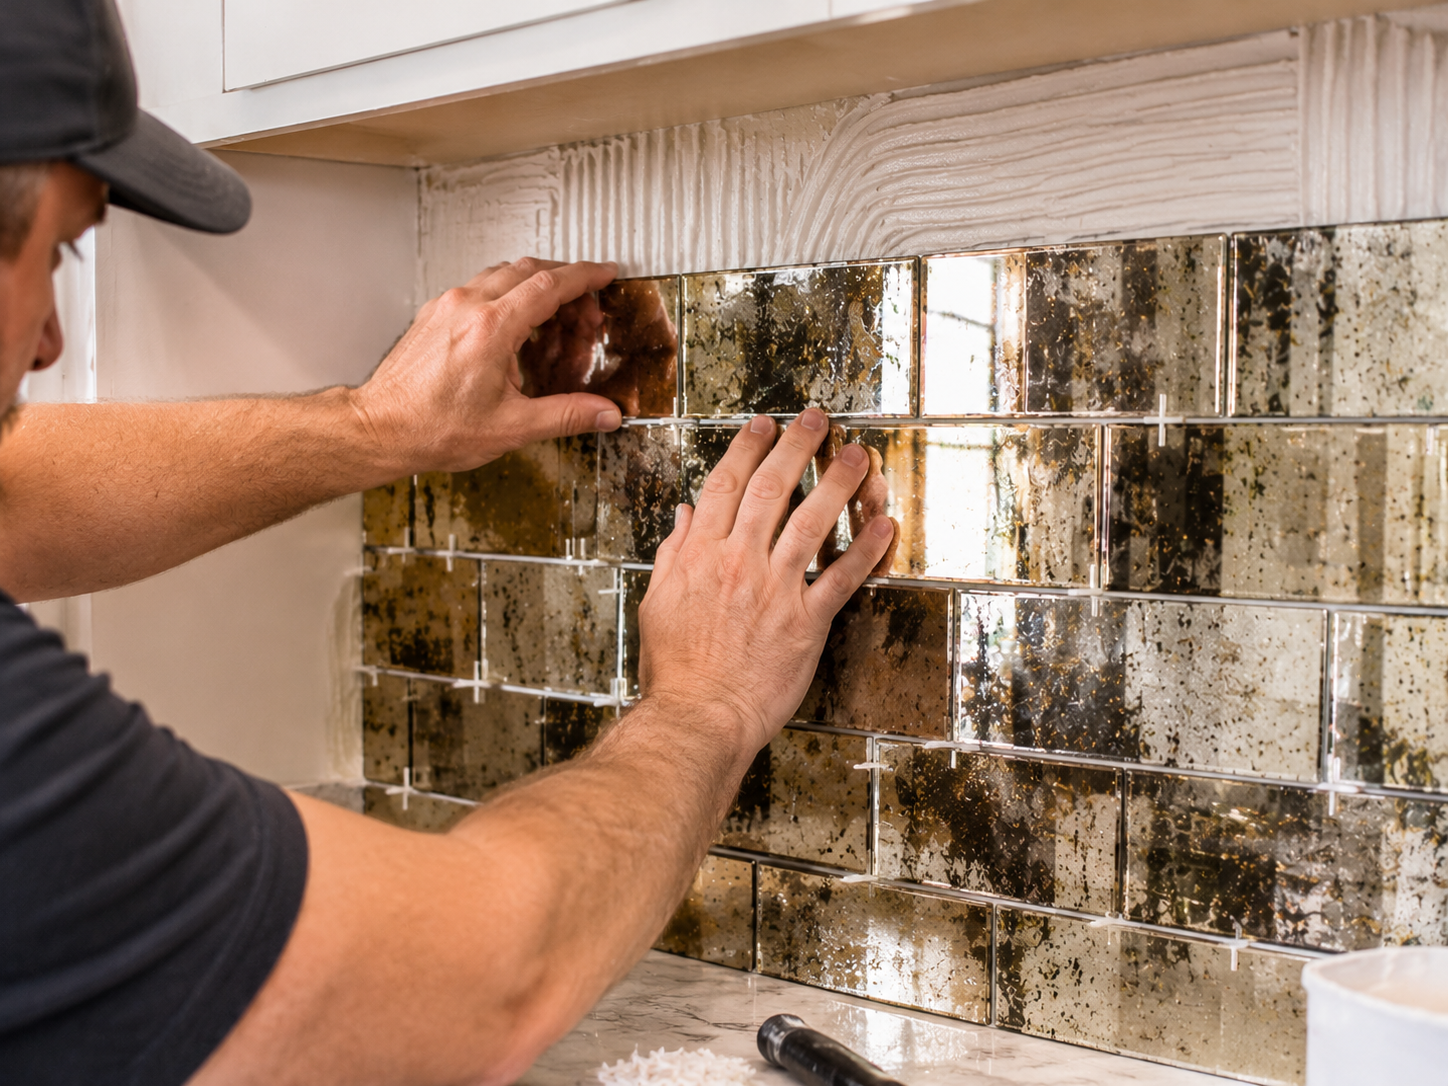
Installation is where most projects are won or lost, and manufacturers generally recommend a professional. If you do it yourself, follow this order and your tile's instructions:
Make the wall flat and sound. Glass magnifies every bump and patch. Fill dents, sand, then clean and prime as the maker advises. Our guide to types of drywall damage helps you decide what needs fixing first.
Dry-fit the layout. Plan joints and cuts before you glue anything, and keep cut pieces to the edges.
Choose the right mastic. Use the mirror-safe adhesive your tile maker names. Don't substitute.
Set the tiles. Work in small areas, press firmly and keep joints even with spacers.
Grout or leave tight joints. One retailer suggests clear translucent grout so the joints don't fight the reflection. Check whether your tile needs grout, and follow the maker's guidance on cleaning joints.
Seal the perimeter. Fill corners, edges and changes of plane with a flexible sealant, as one installation guide for mirrored glass recommends.
Let it cure, then clean gently.
What the Tiles Cost
Prices vary widely because handmade tiles sit at the top. These figures come from retailer listings and will vary:
Example | Price |
Beveled antique mirror glass subway tile | About $15 per sq ft |
Antique mirror glass subway tile (4x12) | About $34 per sq ft on sale |
Hand-silvered antiqued designer tile | About $125 to $165 per sq ft |
Add mirror mastic, sealant, trim, a wet saw or a pro with experience in mirror, and some spare tiles for breakage. Order samples first. Some makers sell swatches for a few dollars, and some offer free cut samples, which lets you see the finish in your own light.
How to Judge a Sample Before You Commit
A swatch tells you more than any product photo. Look at it by day and at night, in the actual room, and hold it where the tile will go. Check the edges for chips, run a hand across it to feel for warp, and compare several tiles, because antiqued mirror tiles vary on purpose and you want to like the whole range, not just the best one. If you can, ask to see pieces from more than one box, since the pattern can shift between batches. Buy a little extra to cover breakage and cut waste, and ask the seller about returns before you open the cartons.
Weight and Wall Prep
Glass is heavy, and the wall has to carry it. In one retailer's listing, a set of five 6-by-12-inch antiqued glass tiles has a suggested weight of about 10 pounds, which may include packaging. Treat that as a rough guide of around 4 pounds per square foot, so a 30-square-foot backsplash adds up to roughly 120 pounds of tile before mastic. A properly secured wall handles that easily, but a loose or damaged one doesn't. Surface prep matters too, so follow the tile maker's primer and substrate instructions. Our guide to what drywall repair costs helps you budget if the wall needs work first.
Pairing the Look With the Rest of the Room
Antiqued mirror plays well with warm woods, aged brass, marble and deep paint colors, which give the smoky surface something to reflect and contrast with. Small tiles read as texture, while larger tiles read as mirror, so choose the scale on purpose. Keep grout lines subtle, and avoid stacking several shiny surfaces in one corner, or the room starts to feel like a jewelry case.
Light and Placement
Antiqued mirror reflects whatever faces it, so look at what will be across the room. A reflection of a window, a lamp or a pretty shelf looks great. A reflection of the trash can doesn't. Warm, low light brings out the patina, and our guide to steampunk lights covers statement fixtures whose aged brass pairs well with the look.
Cleaning and Care
Antiqued mirror tiles need gentle care. Wipe with a soft cloth and a non-abrasive glass cleaner. Avoid abrasive pads, harsh chemicals and acidic cleaners, since they can mar an antiqued finish. Apply cleaner to the cloth rather than spraying the wall, so liquid doesn't run into edges. Check caulk and corners once a year, and add that to your DIY home inspection checklist.
Quick Answers
Can I put antiqued mirror tiles in a shower? Generally no. Manufacturers advise confirming with an installer, and some say to keep mirror out of showers entirely.
Will they look dirty? The spotted pattern is the point, so dust and fingerprints show less than on a clean mirror, though glass still needs wiping.
Do I need a pro? Many makers recommend professional installation, especially for cutting and setting materials.
Can I use regular tile adhesive? No. Use the mirror-safe mastic the tile maker names.
Are they safe on a backsplash? Yes, away from direct heat, with sealed edges and gentle cleaning.
Before You Order
Order samples and look at them at night. Pick the wall, plan the cuts, buy the right adhesive and decide how you'll handle moisture. Antiqued mirror tiles reward patience, and they punish shortcuts.
About Mubashir Yaqoob
Mubashir Yaqoob researches and writes practical home repair guides for Home Repair Manual, focused on translating technical roofing, plumbing, and maintenance information into clear advice for homeowners.
View all posts by Mubashir Yaqoob