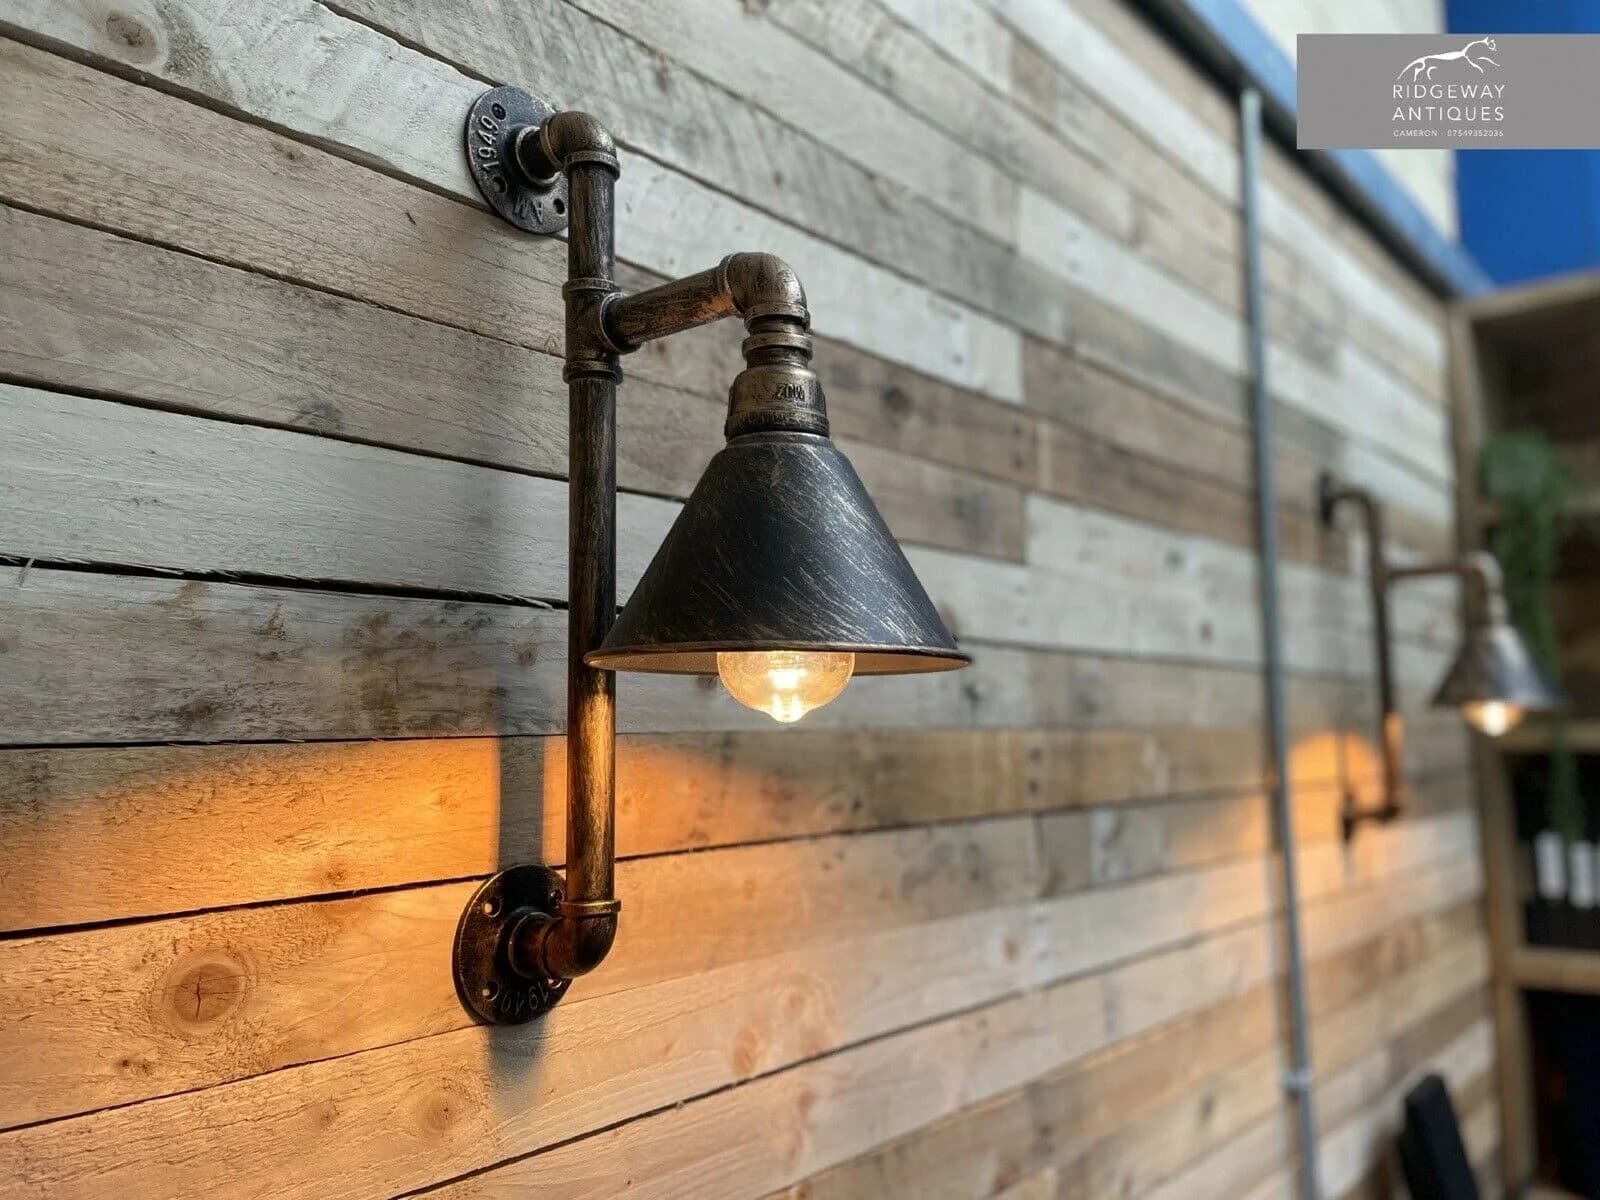
Steampunk lights have a way of stealing the room. A brass pendant with a glowing filament, a wall lamp built from pipe and a valve wheel, a desk lamp that looks like it escaped a Victorian workshop: each one asks for attention and then rewards it.
This guide to steampunk lights is for people who want the look without the headaches. It covers what defines the style, which type suits which room, how to choose bulbs, what to check for safety and how to keep brass and iron looking good for years.
Scope: this is general home guidance, not electrical advice for your specific house. Wiring rules vary by city, so confirm requirements with your local building department and use a licensed electrician for hardwired work.
Steampunk Lights at a Glance: What Defines the Style
The style mixes Victorian ornament with factory hardware. Designers borrow from boilers, ships, railways and laboratories, then add a warm bulb to make it feel alive. Most pieces share a few signature features:
Feature | Why it works | Watch for |
Exposed filament bulb | Glows amber and shows off the fixture | Heat and glare if it's too bright |
Brass, copper or black iron | Develops depth and character over time | Patina that you may or may not want |
Pipe, valves and gauges | Gives the machine-built look | Decorative parts that aren't functional |
Gears, cages and rivets | Adds texture and shadows | Dust that collects in crevices |
Cloth-covered cord | Looks period-correct | Wear near the plug and socket |
Steampunk vs Industrial Lighting
People often mix the two up. Industrial lighting is plain and utilitarian: bare cages, enamel domes, matte black metal. Steampunk lights add story and ornament, with brass fittings, gears, gauges and visible pipework.
Types and Where They Work
Type | Best rooms | Install effort |
Pendants | Kitchens, dining areas, entryways | Medium to hard (hardwired) |
Wall sconces | Hallways, bedrooms, bathrooms | Medium (hardwired) or easy (plug-in) |
Table and desk lamps | Offices, bedside tables, shelves | Easy |
Floor lamps | Reading corners, living rooms | Easy |
Chandeliers | Dining rooms, tall entries | Hard, often heavy |
Outdoor lanterns | Porches, patios | Medium, needs wet-rated fixtures |
If you're new to the style, start with a table lamp or a plug-in sconce. They give you the look without touching your wiring.
Choosing Bulbs: Edison, LED Filament and Brightness
The bulb is half the design. A few choices matter most:
Shape. Long tube, teardrop and round globe bulbs each change the silhouette.
Base. Most US fixtures use a standard E26 medium base, but imported pieces may use E27. Check before you order.
Color temperature. Look for roughly 2200K to 2700K for that warm amber glow.
Brightness. Judge by lumens, not watts. A classic 40-watt bulb is about 450 lumens.
Type. LED filament bulbs copy the look with less heat and lower bills, while true incandescent Edison bulbs glow warmer but burn hotter.
Dimmers help a lot, since filament bulbs look best low. Match the bulb to the dimmer, because not every LED works with every dimmer.
Safety Before You Buy
Look for a safety listing. Marks from labs such as UL or ETL show a product was tested to a standard.
Check the location rating. Labels say dry, damp or wet. Most indoor rooms are dry locations, but fixtures inside a shower or exposed to splashing need a wet rating, and the local inspector decides what counts as damp. No label usually means dry only.
Mind the wattage. Never exceed the maximum bulb rating on the socket label.
Weigh the fixture. The electrical code expects ceiling boxes to carry at least 50 pounds, and heavier fixtures need independent support unless the box is listed for the weight. Wall lamps over about 6 pounds also need a suitably rated box.
Treat vintage with care. Old cords and sockets can be brittle, so have antiques rewired by a qualified person before use.
Metal parts deserve extra attention. If a damaged wire touches a metal body, the whole lamp can become live, which is why grounded plugs, strain relief on cords and listed components matter.
How to Read a Product Listing
When shopping for steampunk lights, glossy photos hide the details that matter. Check the listing for:
A listing mark. UL, ETL or an equivalent. If none is mentioned, assume dry-location use only, or untested.
Location rating. Dry, damp or wet.
Bulb details. Maximum wattage, base type (E26 or E27) and whether a bulb is included.
Weight and mounting hardware. It decides what box or support you need.
Cord and plug. Length, material, and a grounded plug on metal lamps.
Materials and finish. Solid brass or plated, lacquered or raw.
Imported pieces. They may carry CE or IP ratings instead of UL, so confirm voltage and plug type for your country.
Returns and warranty. Glass breaks in transit, and parts go missing.
Installing Them: Plug-In, Hardwired and Battery
Plug-in lamps need nothing but an outlet.
A hardwired swap follows a familiar order:
Switch off the breaker and confirm the power is dead with a tester.
Remove the old fixture and note how the wires connect.
Check that the box is secure and rated for the weight.
Connect the wires to match, grounding the metal fixture.
Mount the fixture, add the bulb and restore power.
Call an electrician for new wiring, aluminum or damaged wiring, heavy chandeliers or anything that makes you hesitate. Our checklist on hiring a pro covers licensing, insurance and quotes, and the same questions apply to electricians.
If you're moving an old sconce, you'll probably need to patch the wall. Our guide to types of drywall damage and drywall repair costs help you plan the fix.
Buying Steampunk Lights: New, Vintage or DIY
Route | Typical range | Trade-offs |
Mass-market retail | Low | Budget finishes, variable quality |
Designer new | From about $350 | Better materials and warranties |
Vintage dealer | Often $600 or more for pairs | Real patina, may need rewiring |
DIY from a kit | Low to moderate | Safe only with listed parts and care |
These figures come from retail and dealer listings, so check current prices. DIY makers sometimes build pipe lamps for a few dollars, but copper pipe is conductive, so a hobby build needs proper grounding, secured cords and testing. When in doubt, buy a listed lamp kit.
If you like matching the details of pipe and valves, our guide to bathroom faucet parts names will help you speak the same language as your hardware supplier.
Cleaning and Caring for Brass, Copper and Iron
Unplug the lamp and let it cool first. Dust with a soft, dry cloth, then wipe with a barely damp cloth and mild soap.
Decide early whether you want patina. Lacquered brass keeps its shine, while unlacquered brass and copper darken naturally. Iron may rust if it gets damp, so keep it dry and touch up bare spots. Once a year, look over cords, plugs and sockets for cracks, discoloration or loose parts. Our DIY home inspection checklist is a handy place to add that check.
Common Mistakes to Avoid
Choosing a bulb that's too bright, so the fixture glares instead of glows
Ignoring the damp or wet rating in bathrooms and outdoors
Hanging a heavy fixture without checking the box or ceiling support
Mixing too many metals, which makes the room look busy
Hiding the cord so well that you never inspect it
Styling Tips That Keep It Elegant
Choose one statement piece and let it breathe.
Repeat a metal finish elsewhere, such as hardware or frames.
Layer in a softer light so the room doesn't feel moody all the time.
Scale matters: a pendant over a table or island should be noticeably narrower than the surface beneath it.
FAQs
1. Are steampunk lights hard to install?
Plug-in lamps are easy. Hardwired fixtures take electrical skill, so hire a pro if you aren't confident. If you rent, a plug-in sconce or table lamp is the safest start.
2. What bulb works best?
A warm LED filament bulb in the 2200K to 2700K range gives the look with less heat.
3. Can I use steampunk lights in a bathroom?
Often, for vanity lighting away from the spray, if the label and local code allow it. Fixtures inside a shower or over a tub need a damp or wet rating, so check with your inspector.
4. Do they need special cleaning?
Soft cloths and mild soap work for most finishes. Avoid abrasives.
5. Is vintage safe?
It can be, once a qualified person has rewired it and checked the socket. Replace brittle cords, cracked sockets or missing grounding before use.
The Takeaway
The best steampunk lights are the ones that look dramatic and behave quietly. Pick a style that fits your room, choose a warm bulb, check the safety label and leave hardwired work to a licensed electrician. Start small, test the look with one lamp and build from there.
About Mubashir Yaqoob
Mubashir Yaqoob researches and writes practical home repair guides for Home Repair Manual, focused on translating technical roofing, plumbing, and maintenance information into clear advice for homeowners.
View all posts by Mubashir Yaqoob