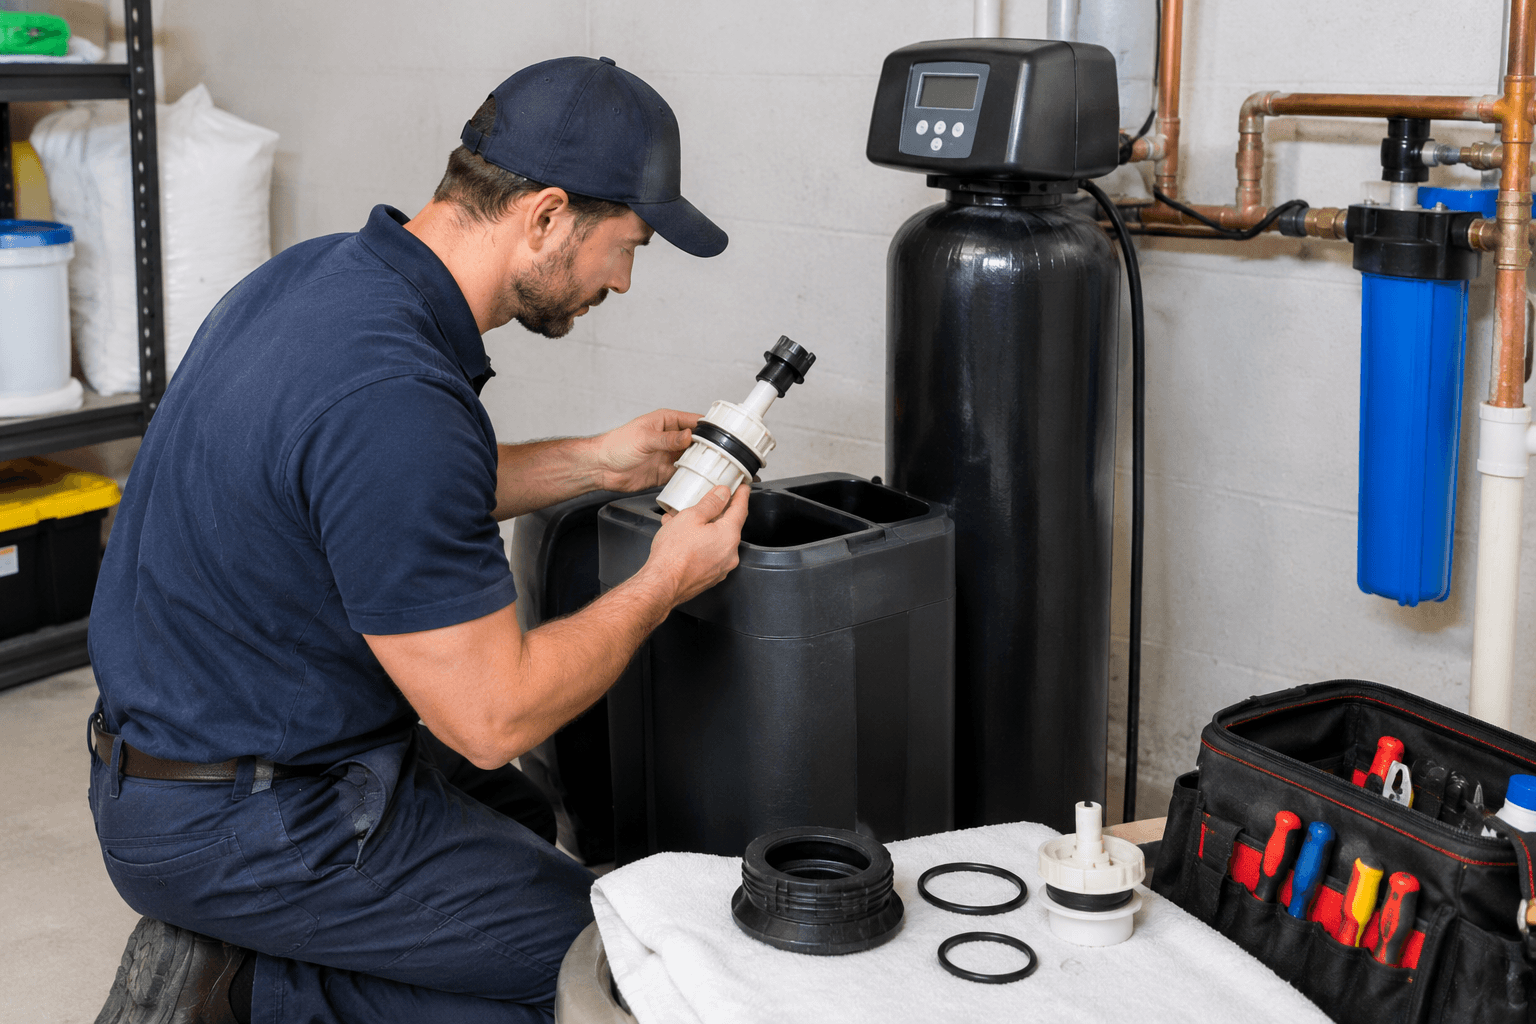
You can feel it before you can name it: spotty glasses, a film on the shower door, salt disappearing faster than it should. Your softener doesn't need a new part yet. It probably needs a proper service.
This guide shows how to service a water softener from start to finish: what to clean, in what order, which parts to open and which to leave alone. The steps cover a typical salt-based unit with a brine tank and a separate resin tank.
Safety note: every step starts with the unit in bypass and unplugged. Wear gloves and eye protection when you handle salt and cleaner, never mix cleaning products, and follow your manufacturer's instructions wherever they differ from this guide.
How to Service a Water Softener: What the Job Includes
A full service is the yearly deep clean, not the monthly glance at the salt. It covers the brine tank, the brine well and float, the injector and its screen, the resin bed, and a test at the end. It takes one to two hours, plus a regeneration cycle that runs on its own.
If you only need to know what to check and how often, our water softener maintenance checklist has the schedule. This page covers the hands-on part. If this is your first time learning how to service a water softener, work in the order below and take photos as you go, because the order is what keeps parts from going back in backward.
Before You Start: Tools, Supplies and Prep
Part of knowing how to service a water softener is gathering supplies first:
A bucket, a wet-dry vacuum and a scoop
A soft brush, dish soap and clean rags
Gloves and safety glasses
A resin cleaner made for your resin type, if you plan to use one
Silicone lubricant approved for drinking water, for O-rings
Your phone, for photos before you remove anything
Find the manual first. If it's gone, look it up by model number, because cap names, depressurizing steps and cleaner rules vary by brand. Start when the salt is nearly gone, so there's less to move.
Step 1: Bypass, Power Down and Record Settings
Photograph the control head, including the hardness, time and regeneration settings.
Turn the bypass valve to bypass. Household water keeps flowing, just unsoftened.
Unplug the unit, and make sure the cord and outlet are dry.
Follow your manual's depressurizing step before opening any cap. Some valves hold pressure after bypass.
Step 2: Empty and Clean the Brine Tank
Wet salt is heavy, so empty the tank before you lift it, and ask for help if you need it. Scoop out any remaining salt. Throw away salt that is wet, crusted or dirty, and keep clean salt in a covered bucket. Vacuum or bail out the water and the sludge at the bottom.
Scrub the walls and floor with warm water, dish soap and a soft brush. Rinse until no suds remain, then let it drain. Skip harsh chemicals and sharp tools, which can crack the plastic.
Step 3: Clean the Brine Well, Float and Air Check
Lift out the brine well, the narrow tube in the tank, and wipe it clean. Check that the float moves freely. If your unit has an air check or brine valve, rinse it in warm water and look for cracks. Reseat everything gently, because forcing parts can bend them.
Step 4: Clean the Injector and Its Screen
During regeneration, the injector is the small part that pulls salty water out of the tank and into the resin. When it clogs, the cycle runs but pulls little brine, so the unit looks normal and softens poorly.
Photograph the head, then unscrew the injector cap and the screen cap. Names differ by brand.
Lift out the screen, nozzle and throat, keeping them in order.
Rinse them in warm water and clear grit with a soft brush. Never poke the tiny holes with wire.
Wipe the O-rings, lightly coat them with silicone lubricant and reassemble in the same order.
If the symptoms continue afterward, our water softener troubleshooting guide ranks the next checks by effort.
Step 5: Run a Resin Cleaner
Use a cleaner when you see iron stains, have well water or haven't cleaned the resin in a year. Choose one rated for your resin, and read the label for two things: how to dilute it and whether the salt level in the tank must be low. Then add it as directed, usually through the brine well, and run a manual regeneration. The cycle runs through backwash, brine draw and rinse, so the cleaner reaches the whole resin bed.
Don't improvise with bleach. Only sanitize if your manual calls for it, because the dose depends on the resin volume.
Step 6: Refill Salt, Restart and Run a Manual Regeneration
Add the amount of water your manual specifies to the clean tank.
Refill with the salt type your manual recommends, keeping it above the water line and a few inches below the rim. Pellets or evaporated salt leave less sediment than low-purity rock salt, which clogs injectors.
Plug the unit in and reset the time of day, hardness and regeneration settings from your photo.
Return the bypass valve to service slowly, then check every connection for drips.
Start a manual regeneration and let it finish. It often takes about two hours.
Step 7: Test, Log and Listen
After the cycle, run a cold tap for a minute and test the water with hardness test strips. A properly serviced softener should read close to zero. Write down the date, the reading and what you cleaned.
Listen on the first cycle, too. Not sure what a sound means? See our breakdown of normal and abnormal softener noises, which separates a healthy cycle hum from a real warning.
If the Water Still Tests Hard
If you followed how to service a water softener step by step and the strips still read hard, run through four checks: the bypass valve is fully in service, the injector parts went back in order, the tank has the right amount of water and salt, and the hardness setting matches your water. Then run a second manual regeneration. If a strip still shows hardness after that, the resin or the valve probably needs a technician, and the next step is a quote rather than another cleaning.
How to Service a Water Softener Yourself vs Hiring a Pro
Part of learning how to service a water softener is knowing where to stop. Cleaning the tank, injector and resin bed is a reasonable DIY job. Valve repairs, resin replacement and anything involving leaks around the control head are better left to a technician.
Job | DIY | Pro |
Brine tank cleaning | Under about $20 in supplies | Often part of a visit |
Injector cleaning | A few dollars in O-ring lubricant | Part of a visit |
Resin cleaner | About $10 to $30 per bottle | Part of a visit |
Service visit | Not applicable | About $100 to $300 |
Control valve repair | Not DIY-friendly | About $150 to $600 |
The DIY figures are my estimates from typical retail prices. Pro ranges come from published cost guides, which put annual service contracts at roughly $100 to $250. If a repair quote nears the price of a new unit, our guide to the average life of a water softener helps you decide.
Mistakes That Undo a Service
Most failed attempts at how to service a water softener trace back to a few repeat errors:
Forgetting to return the bypass valve to service
Using low-purity salt that clogs the injector again
Skipping the manual regeneration
Pouring cleaner into a full tank of salt when the label says not to
Losing the original settings and guessing new ones
FAQs
1. How frequently does a softener need a full service?
Once a year is a good rule, and many brine tanks need cleaning every 6 to 12 months. Check your manual.
2. Do I need to shut off the main water?
Usually not. Switching to bypass isolates the softener, so the house keeps its water supply, unless the valve leaks.
3. What salt should I use?
The type your manual lists. Cleaner pellets or evaporated salt cause fewer clogs.
4. Is bleach safe to use?
Only if your manual allows it, and in the amount it gives.
5. How long does the job take?
About one to two hours, plus a regeneration cycle that runs on its own.
The Takeaway
Once you know how to service a water softener, the job is a repeatable sequence: isolate, clean, restart, regenerate, then test. Do it once a year, keep notes and save the pro for valve and resin work.
About Mubashir Yaqoob
Mubashir Yaqoob researches and writes practical home repair guides for Home Repair Manual, focused on translating technical roofing, plumbing, and maintenance information into clear advice for homeowners.
View all posts by Mubashir Yaqoob