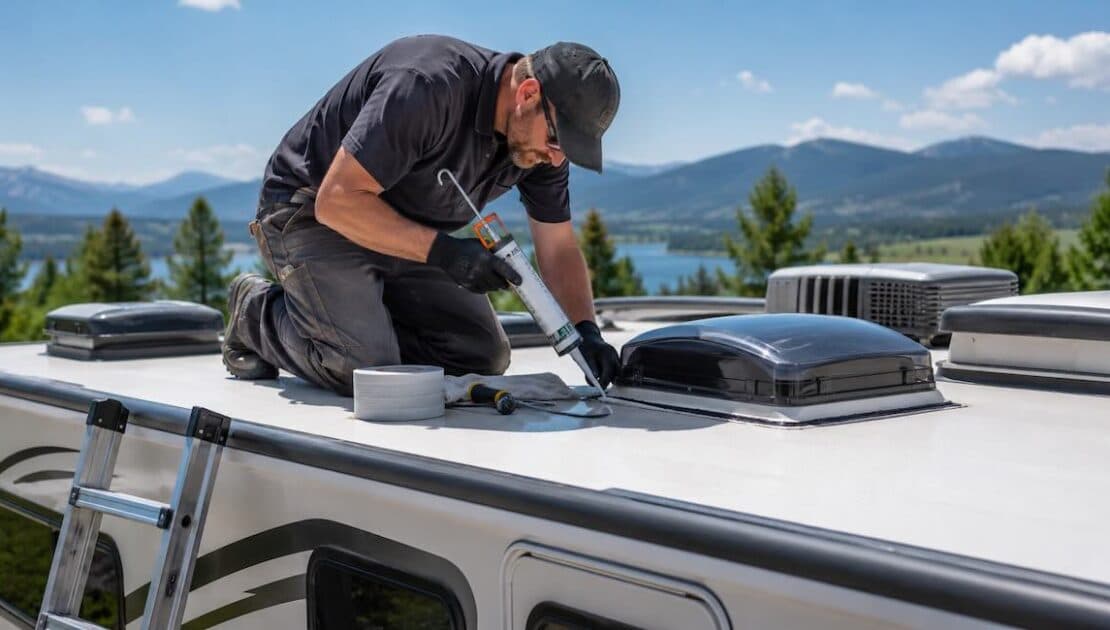
Most guides on how to repair a travel trailer roof treat every RV roof repair the same way — clean it, patch it, seal it, done. In practice, the material your roof is actually made of changes almost every step, and using the wrong cleaner or sealant on the wrong material is one of the most common ways a camper roof fix fails within a season instead of lasting for years.
This guide walks through the process the way it should actually be approached: identify what you're working with first, then follow the specific steps that match it. Skipping straight to a generic patch-and-seal routine is exactly how a repair that should last years ends up failing within a few months.
How to Repair a Travel Trailer Roof: Identify Your Material First
Before buying a single tube of sealant, confirm what you're working with, since this single detail determines your entire approach:
1. EPDM (Rubber)
The most common travel trailer roofing material — a slightly textured, flexible membrane, usually black or white. It's the material most sealants and patch products on the market are designed around, which also makes it the easiest to find compatible repair supplies for.
2. TPO
A newer thermoplastic membrane that looks similar to EPDM but is chemically different, and not compatible with the same sealants. Using an EPDM-specific product on a TPO roof is one of the most common DIY mistakes, since the two materials are easy to mix up visually.
3. Fiberglass
A rigid, smooth surface, often with a visible gel coat that oxidizes and chalks over time. Repairs typically involve a gel coat product rather than a flexible membrane sealant, since the underlying material doesn't move the way rubber does.
4. Aluminum
Less common on newer trailers, rigid and metallic, and prone to different failure points like seam separation rather than membrane tears. Aluminum roofs generally need seam-specific sealant rather than a full-surface coating.
Mixing up EPDM and TPO products specifically causes real problems in any rubber roof repair — a sealant formulated for one can fail to bond or even degrade the other, so this identification step isn't optional even if it feels like the article's least exciting part.
Tools and Materials You'll Actually Need
A plastic scraper — never metal, which can gouge the roofing surface
Fine-to-medium grit sandpaper — lightly abrades the surface so sealant has something to grip
Denatured alcohol — a final clean pass that removes oils sealant won't bond to
Self-leveling sealant — the roof sealant RV owners rely on most for horizontal seams and vents
Non-sag sealant — for vertical surfaces, since self-leveling product simply runs off anything that isn't flat
Matched coating or gel coat — EPDM/TPO-specific liquid coating, or fiberglass gel coat, based on your material from step one
A small patch repair (sealant plus a roll of patch tape) typically runs $50-80 in materials — this covers most everyday tears and worn seams. A full roof recoat is a different scope entirely, since it requires 3-4 gallons of coating at roughly $80-120 per gallon, putting DIY materials for a full recoat closer to $200-600. Professional full recoats run considerably higher, typically $800-$2,500 depending on roof size and coating type, which is worth knowing before deciding which scope of repair you actually need.
The Repair Process, Step by Step
1. Clean Thoroughly, Without the Wrong Cleaner
Wash the area with soap and water, avoiding citrus-based, acidic, or petroleum-based cleaners entirely — these degrade rubber and fiberglass roofing material over time, turning a repair into a future problem. Give it a full rinse and don't move to the next step until it's completely dry.
2. Scrape and Sand the Repair Area
Remove any loose or curled sealant with a plastic scraper, then lightly sand the surface with fine-to-medium grit sandpaper. This step matters more than it looks: a slightly abraded surface gives new sealant something to actually grip, rather than sitting on top of a slick membrane.
3. Wipe Down With Denatured Alcohol
This removes oils and fine residue left behind by sanding, which sealant won't bond to properly if skipped.
4. Patch Holes or Tears
For a small puncture or tear, a compatible patch material (EternaBond tape works well across most membrane types) pressed firmly over the damaged area, extending a few inches beyond the tear on all sides, handles most everyday camper roof damage without needing a full re-coat. This is one of the more reliable roof patching methods for a quick, lasting fix.
5. Apply the Sealant or Coating
Use self-leveling sealant on horizontal seams and roof-mounted vents; use non-sag sealant on vertical surfaces, since a self-leveling product will simply run off anything that isn't flat. For a full membrane recoat, roll or brush on the liquid coating in a thin, even layer, letting it dry fully before a second coat.
6. Let It Cure Before Travel
Give any sealant 24-48 hours to cure fully before driving or exposing it to rain — moving or wetting it too early is a common reason a otherwise-correct repair fails prematurely.
Sealing and Waterproofing the Rest of the Roof
While you're already up there, reseal the areas most likely to fail next, not just the original problem spot — every roof vent, skylight, antenna and AC mount, and every seam where two membrane sections meet. These are the most common places a slow leak actually originates, often well before it becomes visible from inside the trailer, and vent and skylight seals in particular degrade steadily with sun exposure regardless of how solid the mount itself still looks.
If your trailer's roof sits over plywood decking rather than a foam or aluminum substrate, it's also worth checking for the kind of underlying deck damage covered here, since a membrane repair alone won't fix rot that's already reached the wood underneath.
Keeping It From Happening Again
Inspect every six months, specifically before and after the rainy season, since UV exposure and temperature swings are what break sealant down in the first place
Check after major storms — a five-minute visual check catches most developing problems while they're still small
Treat small issues as urgent — a $20 tube of sealant now beats a full membrane replacement later
The same RV maintenance tips apply whether you're doing a trailer roof leak repair on a travel trailer or a similar mobile home roof repair on a stationary unit
When Repair Stops Making Sense
A patch-and-seal approach works well for isolated damage, but a few signs point toward a bigger decision instead: widespread membrane failure spread across multiple sections rather than one isolated spot, soft spots underfoot that usually mean the decking itself has started rotting, or repeated leaks showing up in a different location each season rather than the same spot recurring.
At that stage, it's worth comparing full replacement costs against continuing to patch a roof that's fighting you every season — sometimes the math genuinely favors starting over.
FAQ
Can I repair a travel trailer roof myself?
Yes, for most common damage — small tears, worn seams, and general resealing are all realistic DIY jobs with basic tools, typically $50-80 in materials for a patch or $200-600 for a full recoat, making a travel trailer leak fix one of the more approachable RV repairs for a first-time DIYer.
What's the difference between repairing an EPDM roof and a TPO roof?
The process is similar, but the specific sealants and cleaners must match the material — EPDM and TPO products aren't interchangeable, and using the wrong one can cause the repair to fail or the roof itself to degrade.
How long does a DIY roof sealant repair last?
A properly applied seal typically lasts several years before needing reapplication, although seams and high-UV-exposure areas may require more frequent attention.
Do I need to replace the whole roof if I find one leak?
Usually not — an isolated leak is typically a spot repair, not a replacement situation, unless it's revealed rot or damage extending well beyond the original leak point.
What's the biggest mistake people make repairing their own RV roof?
Skipping proper cleaning and sanding before applying sealant — a repair applied to a dirty or slick surface often fails within months, regardless of how good the sealant itself is.
About Mubashir Yaqoob
Mubashir Yaqoob researches and writes practical home repair guides for Home Repair Manual, focused on translating technical roofing, plumbing, and maintenance information into clear advice for homeowners.
View all posts by Mubashir Yaqoob