You notice it late.
Not at the first drop, not at the first crack, but when it’s already settled in. A faint stain. A damp corner. That smell that does not belong inside an RV.
That’s usually when people start searching for how to repair leaking RV roof and realize it is not as straightforward as it sounds.
Honestly, it’s not complicated either. It just requires attention. And a bit of patience. Okay, maybe more than a bit.
The good news is that most leaks can be fixed without tearing everything apart. The bad part is that if you delay, the damage grows quietly.
So, let’s walk through it properly. Not rushed. Not overly technical. Just real.
Quick Answer:
To repair a leaking RV roof, inspect the damaged area, clean it thoroughly, apply compatible RV roof sealant, and patch larger sections if needed. For long-term protection, finish with a roof coating.
Causes
Before fixing anything, you need to understand why it’s happening. Because repairing without knowing the cause is… well, pointless.
Common Reasons for RV Roof Leaks
Cracked or worn sealant
Aging rubber membranes
Loose seams or joints
Punctures from debris
Poor maintenance habits
Water finds the weakest point. Always.
And sometimes, what looks like a small leak is actually the result of something deeper. That’s where leak detection RV becomes important.
You might think the leak is in one spot, but it could be traveling from somewhere else. Water does that. It moves.
Weather and Time
Sun exposure dries out materials. Rain tests every seal. Cold weather causes expansion and contraction. All of this contributes to wear and eventually, failure.
Tools Required
You don’t need a full workshop. But you do need the right basics. Here’s what usually helps:
Ladder
Cleaning solution and a cloth
Soft brush
Caulking gun
RV roof sealant
Patching material
Utility knife
Protective gloves
That’s enough for most repairs.
If you are dealing with rubber roof repair, make sure your materials match the roof type. That matters more than people think.
How to Identify the Leak Source Quickly
Before starting repairs, it helps to narrow down the source:
If the leak appears after rain → likely roof surface damage
If it spreads slowly → sealant or seam issue
If it shows near vents → flashing problem
If it appears in multiple spots → possible membrane failure
This quick check helps you focus on the real problem instead of guessing.
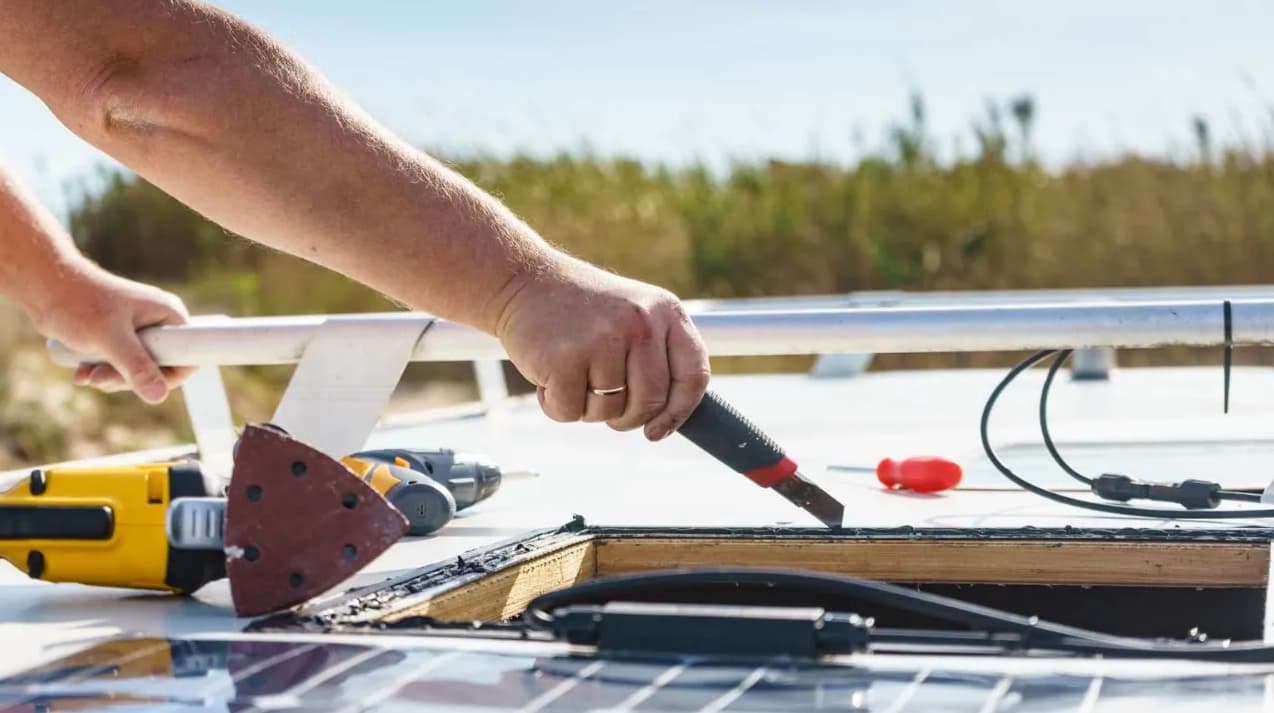
How to Repair a Leaking RV Roof (Step-by-Step)
This is where it all comes together. Take your time with this part. Rushing here leads to repeat repairs later.
Step 1: Inspect the Roof
Start with a thorough inspection. Look for:
Cracks
Soft spots
Discoloration
Loose edges
This is your leak detection RV phase. Check seams, vents, and corners carefully. These areas fail first. Honestly, spend more time here than you think you need.
Step 2: Clean the Area
Dirt and debris prevent proper sealing. Use a cleaning solution and scrub gently. Let the area dry completely before moving forward.
Skipping this step is a common mistake.
Step 3: Identify the Leak Source
Find the exact entry point. If accessing the roof isn’t possible at the moment, you may need to learn how to fix a leaking roof from the inside as a temporary solution before completing the repair. Not the stain inside. The actual source is outside.
If needed, pour a small amount of water and observe. Slowly. Carefully.
You are tracing the path, not flooding the roof.
Step 4: Apply Sealant
Now comes the main fix.
Apply RV roof sealant evenly over the damaged area. Cover cracks and seams thoroughly.
Do not rush the application. Smooth it out. Let it settle.
Step 5: Patch the Roof
For larger damage, you need to patch the RV roof sections. Cut the patch material slightly larger than the damaged area.
Apply sealant beneath and around it. Press firmly. This creates a barrier that blocks water entry.
Step 6: Add Protective Coating
Once repairs are done, consider applying RV roof coating.
This adds an extra layer of protection. It also extends the life of your roof. Which, honestly, is always a good thing.
Temporary Fixes
Sometimes, you don’t have the time or conditions for a full repair. That’s where quick solutions come in.
Temporary RV Roof Fix Options
Sealant tape
Waterproof patches
Quick-dry compounds
A temporary RV roof fix can stop the leak for now. In urgent situations, many homeowners rely on a temporary fix for leaking roof to control damage before applying a full repair.
But it is not permanent. I mean, it buys you time. That’s it.
When to Use Temporary Solutions
During travel
Bad weather conditions
Lack of tools or materials
Just remember to come back and fix it properly later.
Mistakes to Avoid
This part matters more than people realize. Because most issues come from avoidable errors.
1. Ignoring Small Leaks
Small leaks do not stay small. They grow. Slowly, then suddenly.
2. Using the Wrong Materials
Not all sealants are equal. Using the wrong type affects RV roof waterproofing and reduces effectiveness.
3. Skipping Cleaning
Applying sealant on a dirty surface leads to poor adhesion. It fails. Quickly.
4. Overapplying Sealant
More is not always better. Too much sealant can crack over time.
5. Delaying Repairs
Time is the biggest cost factor. Delays increase damage. And expenses.
A Small Reality Check
You might think one repair solves everything.
Sometimes, it does. Sometimes, it doesn’t.
Roofs age. Materials wear out. Maintenance is ongoing. That’s just how it works.
Maintenance Going Forward
Once repaired, focus on prevention.
Inspect every few months.
Clean regularly
Reapply sealant annually
Consistent RV roof maintenance reduces future problems, just like regular general plumbing maintenance helps prevent hidden issues in your home.
It also keeps costs lower over time. Not zero. But lower.
5 FAQ
1. How do I fix an RV roof leak permanently?
To fix the RV roof leak permanently, clean the area, apply proper sealant, and use a patch if needed. Finish with a protective coating for durability.
2. Can I repair a rubber RV roof myself?
Yes. Rubber roof repair is manageable with the right materials and preparation. Just ensure compatibility with your roof type.
3. What is the best way to stop an RV leak quickly?
A temporary RV roof fix, like sealant tape, can help you stop the RV leak immediately. Follow up with a permanent repair later.
4. How often should I check my RV roof?
Regular RV roof maintenance every 3 to 6 months helps detect issues early and prevent major damage.
5. Do I need roof coating after repair?
Applying RV roof coating enhances RV roof waterproofing and extends the life of your repair.
If the leak continues or spreads, it’s best to have the roof inspected professionally to prevent structural damage.
Final Thoughts
Repairing a leaking RV roof is not just about stopping water.
It’s about restoring protection. It’s about avoiding bigger problems later. And honestly, once you understand the process, it stops feeling overwhelming.
It becomes manageable. Not easy. But manageable. And that makes all the difference.
About HomeRepairManual Team
The HomeRepairManual Team is a group of experienced technicians and DIY experts dedicated to making repairs easier. They provide clear, reliable guidance and practical resources to help users confidently fix and maintain their equipment.
View all posts by HomeRepairManual Team